


Congratulations if you’ve already purchased an Attach2 Heli-Tilt! You’ve joined thousands of other excavator operators that share a love for this Coupler. The versatility of this hitch, as well as its rugged durability, has made it one of Attach2’s most successful and best-selling hitches.
Operators love the simple design, and you’ll be pleased to know it’s also hassle-free and easy to maintain. The basic premise is this. Love your Heli-Tilt and it will love you back. There are three simple and basic regular maintenance procedures to ensure your hitch lasts the life of your excavator. Do them in this order. Cleaning. Inspection. Greasing.
- Cleaning: Ideally, give the Heli-Tilt a weekly clean to help it perform correctly. If it’s not cleaned, then debris can block the cylinder preventing movement, which is a common cause of a Heli-Tilt not releasing a Bucket. A power wash using a water blaster on a moderate-high setting is recommended. Remove all sticks, dirt, rocks, mud, and dried clay that might have built up and accumulated around the cylinder spring. Keeping it free of debris is key to ensuring the spring can move freely allowing the Heli-Tilt to perform all the operational tasks that you’ll want to get on with. If you’re working remotely without access to running water, a clean using a bucket of warm soapy water and a hard-bristled brush will suffice. To help keep debris away from the cylinder, all Heli-Tilts manufactured from early 2022 come with a cover sock. This helps to keep the spring clean and clear from obstacles, but it shouldn’t be seen as a substitute for not maintaining a weekly cleaning, inspection, and greasing regime. Keeping your Heli-Tilt clean provides good visibility to enable an Inspection.
- Inspection: Once the Heli-Tilt is clean, give it an integrity check or visual inspection.Check the hydraulic fittings are secure, and there are no leaks. Check that all nuts and bolts are tight and that the safety latch, main cylinder pins, and sliding jaw nut are all there. Look for any signs of excessive wear or fine hairline cracks. Cracking is very rare but needs to be addressed promptly. Look for anything that looks loose or out of position. If something is missing, or looks out of place take some photos and email them to sales@attach2.com or call the After Care Sales Team. In New Zealand, call: 0800 100 683. In Australia, call 1800 095 689.
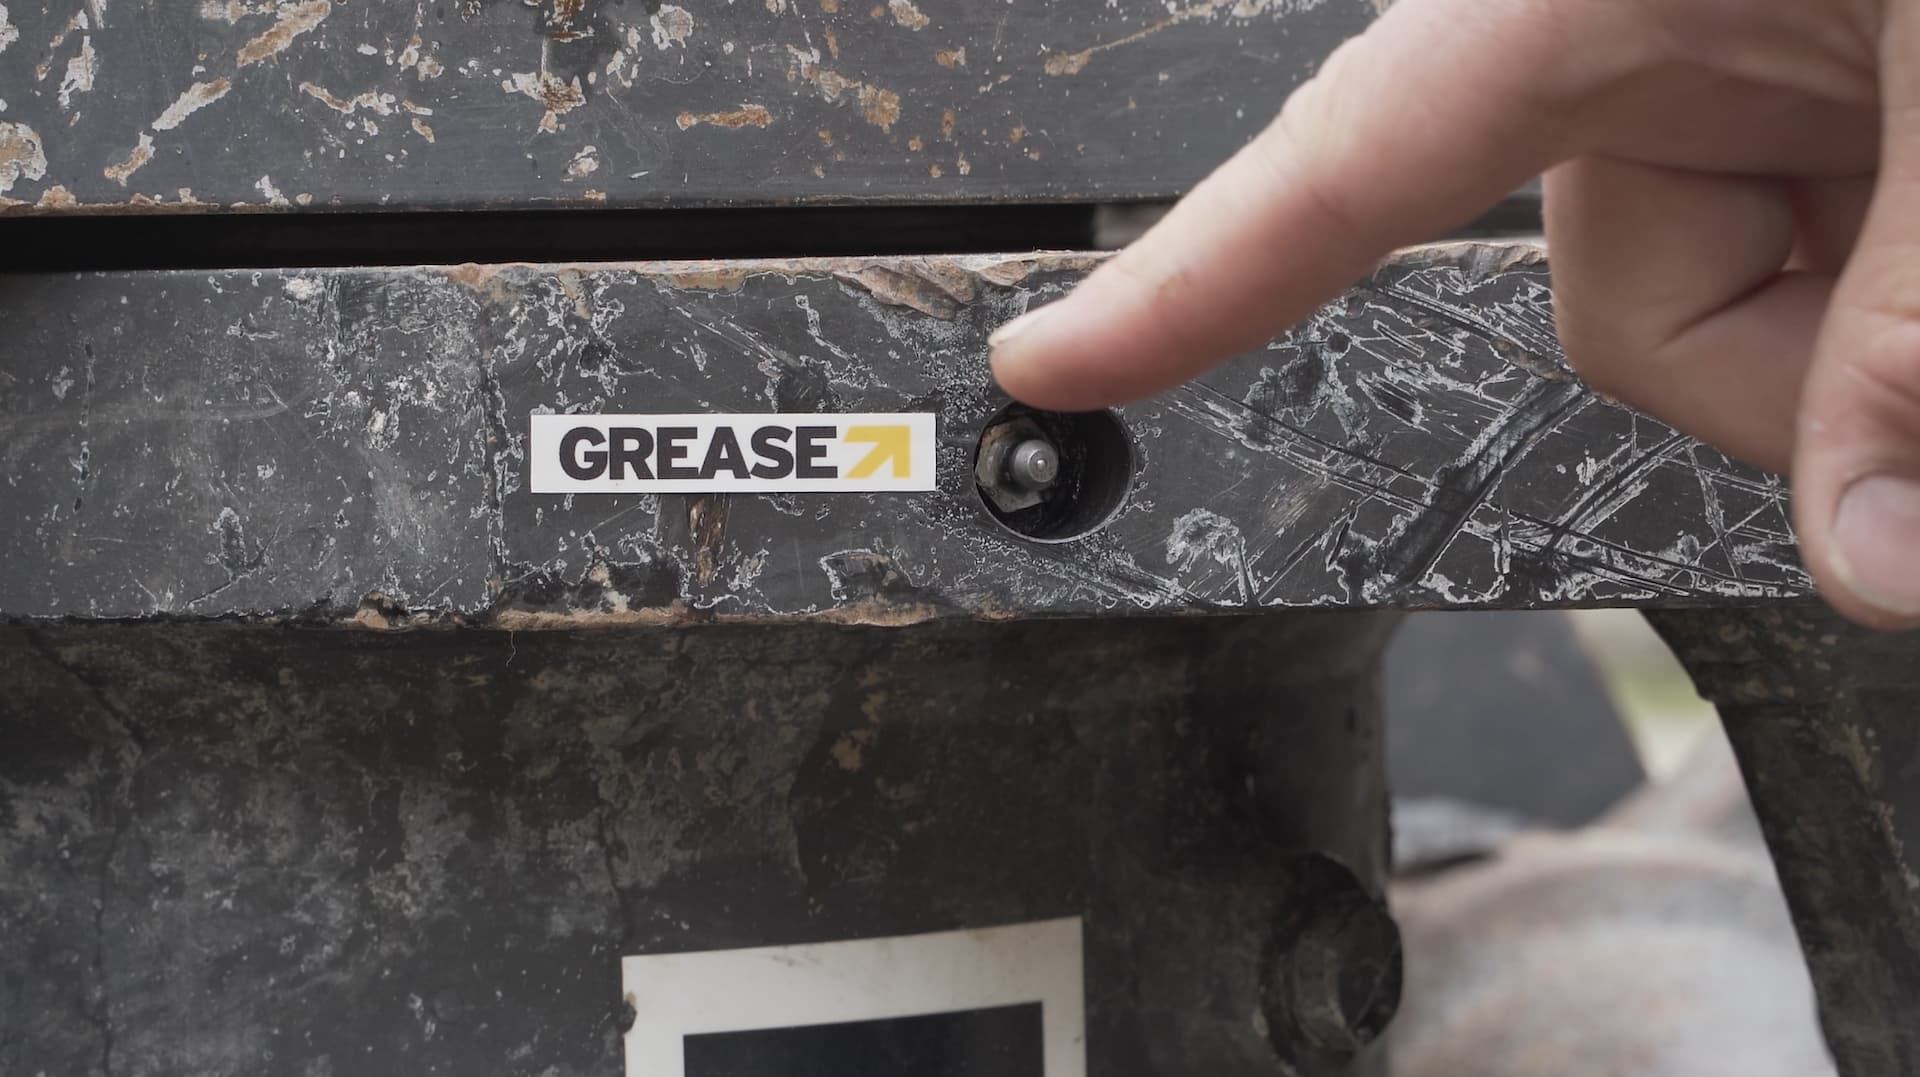
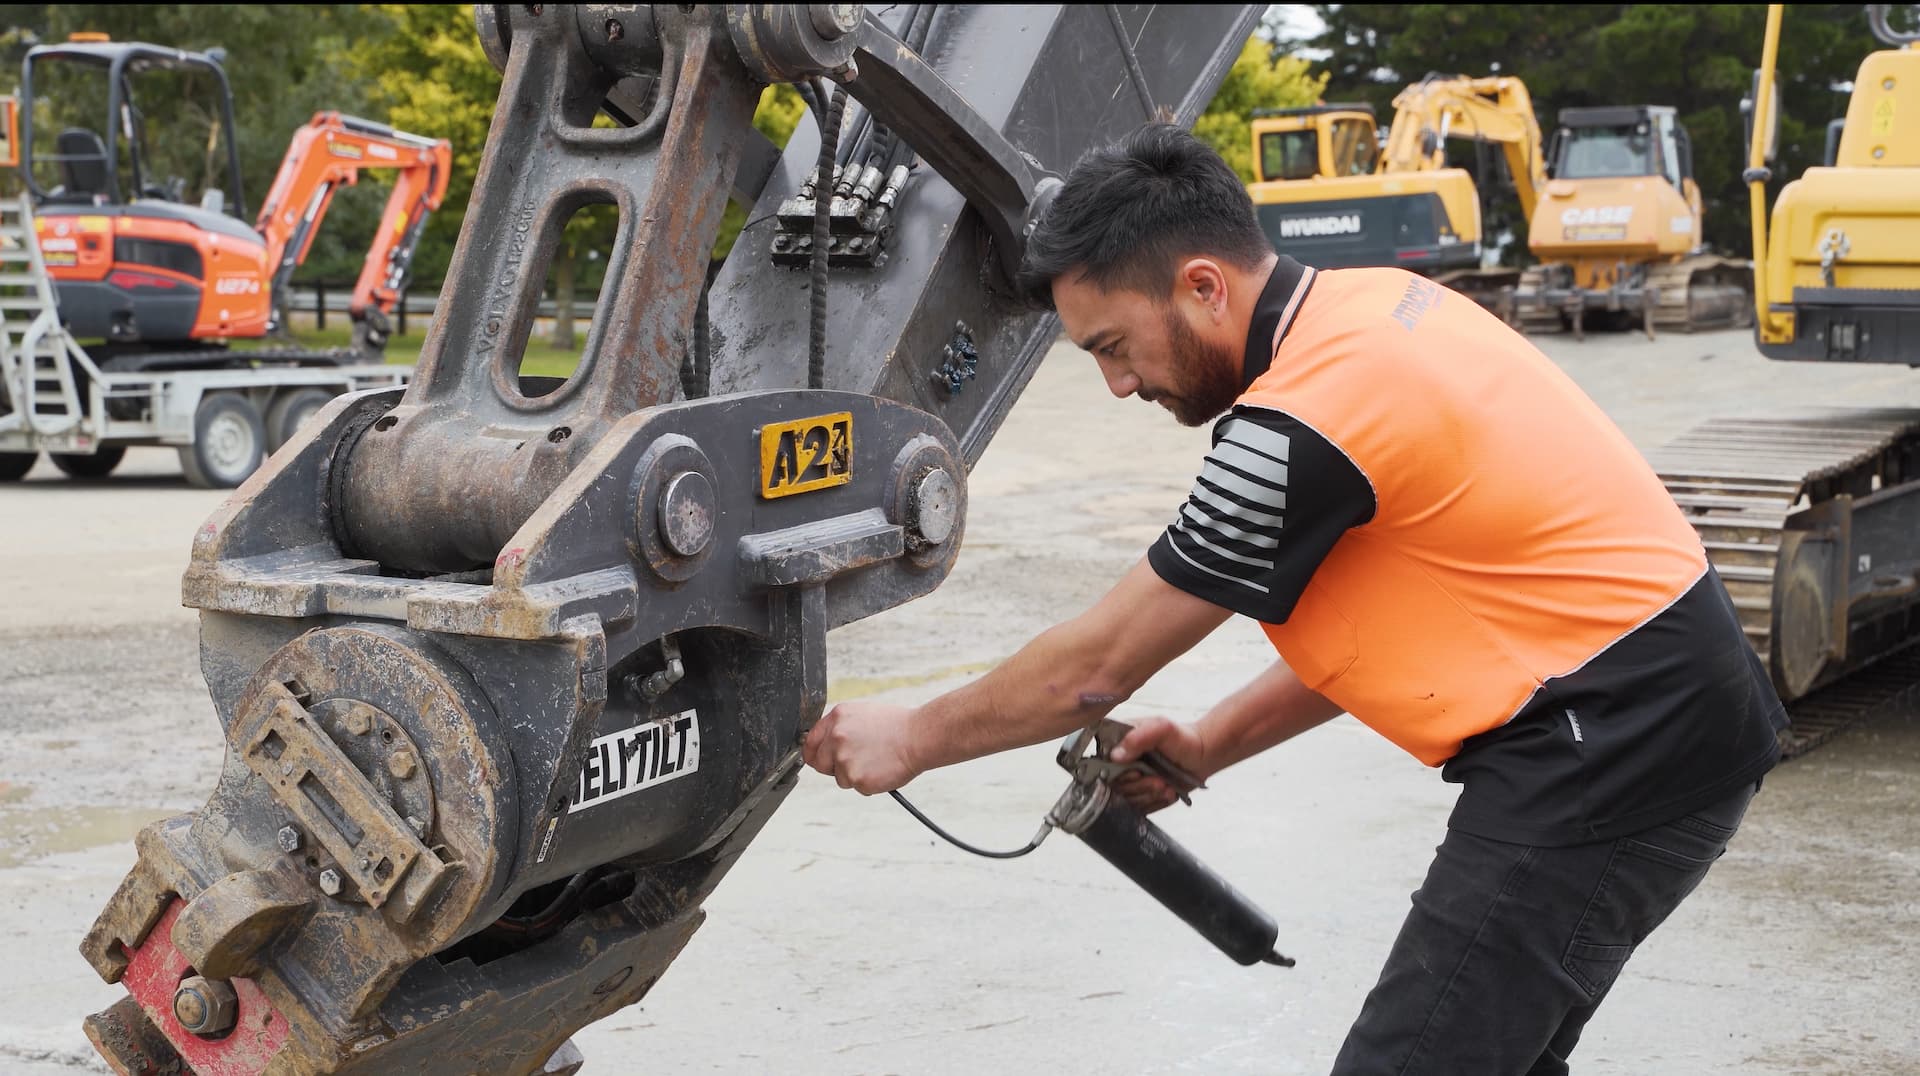
- Greasing: Once the Inspection has been completed, all that’s left to do is give the two greasing nipples some grease. These two points are shown in the Heli-Tilt Operation & Maintenance Manual for both the HT and HTR models and are indicated with stickers on every new Heli-Tilt. At a minimum, the nipples should be greased every week. Use a thinner lithium-based grease as it has a thinner viscosity. Two manual pumps using a grease gun at each of the two points are all that is required. Avoid thick grease entirely as it doesn’t penetrate, and could cause blockages leading to damage of the seals.
And that’s it! Regularly following this cleaning, inspection, and greasing regime will insure your Heli-Tilt can operate at peak performance.

 Facebook
 Youtube
 Instagram
 Linkedin